December 7, 2023
Tips for putting your converted Sprinter into hibernation
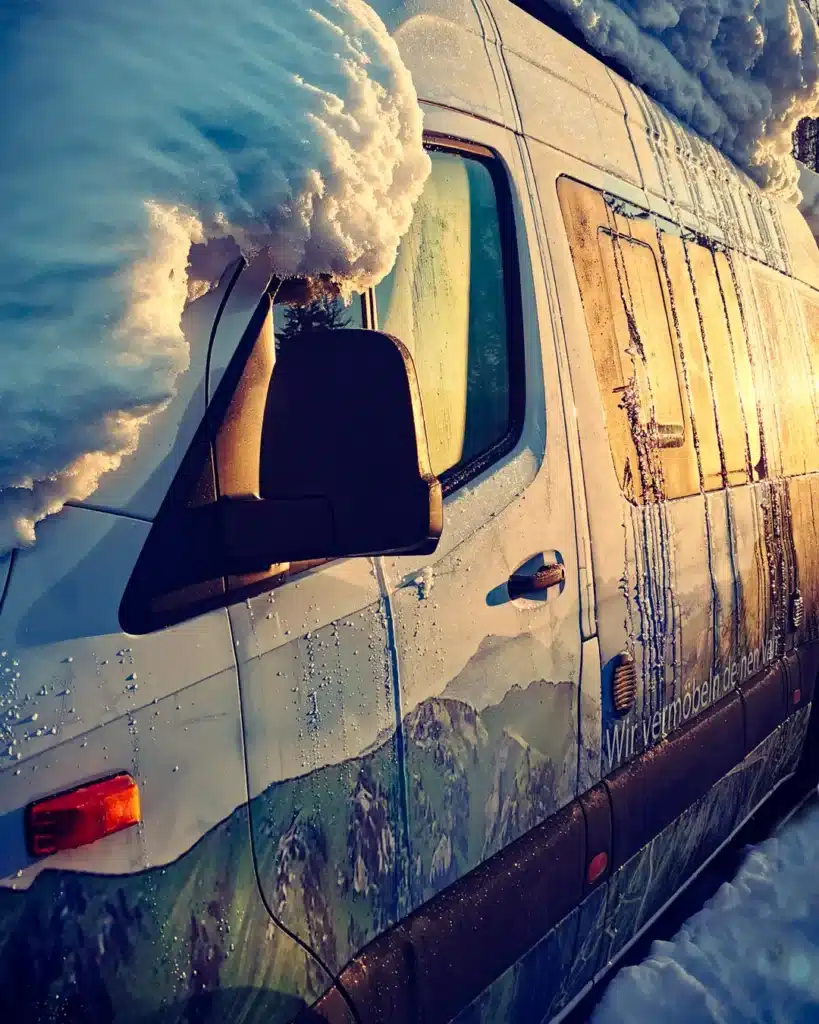
It's time! The days in autumn are getting shorter, summer jackets are being put away, and your cozy woolen blanket is becoming your best friend. Winter is just around the corner...
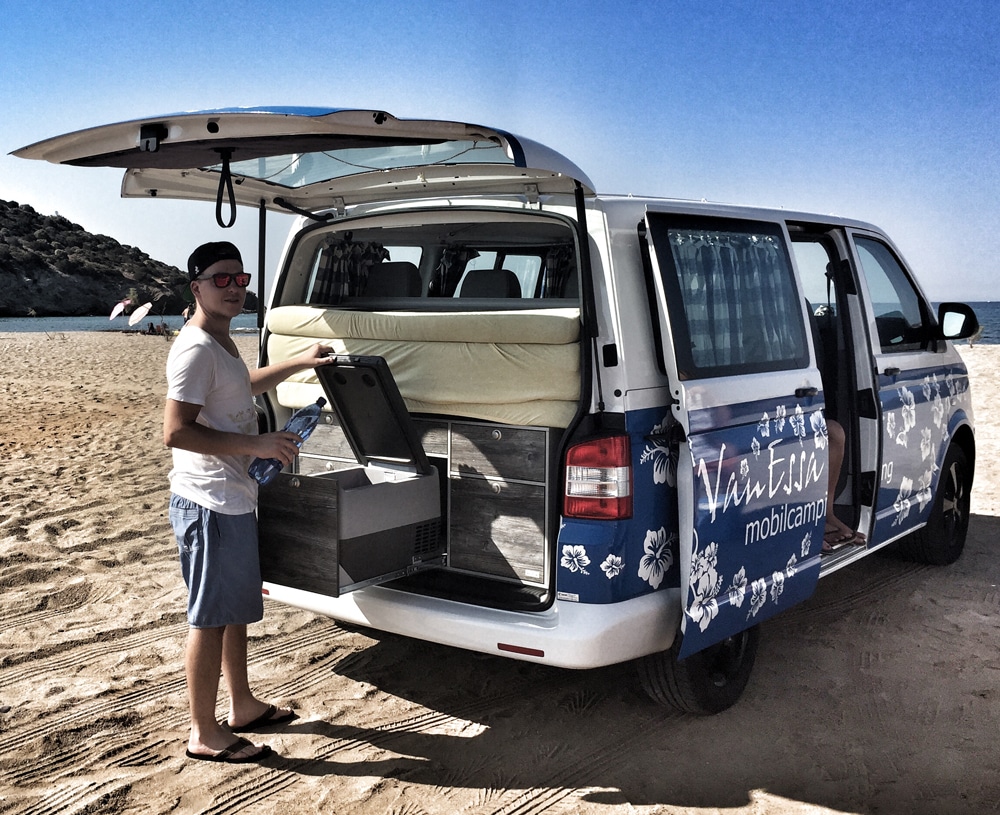
HiI'm Bea from VanEssa mobilcamping, and in this post, I want to give you our most important to-dos on how to best winterize your camper. Because your vehicle needs special attention, especially if you don't go winter camping and your Sprinter will be standing still during the cold season.
Additionally, you can download our detailed checklist on the topic for free, so you always have everything in view.
Core measures concerning water, cleaning, technology, and accommodation are essential, even if you are not yet sure if you will be on the road for the fourth season.
2. Hibernation or winter camping?
In both cases, important steps are necessary to winterize your camper and avoid frost damage and moisture. Sprinter rhymes with Winter, after all. And what rhymes is…!? 🙂
Therefore, the important question is: Do you also want to travel with your camper during the cold season? Or should it be winterized and only awakened from hibernation in the spring?
Because your excursions during the cold season require special preparations. With our tips, you'll be well-equipped for the winter season in any case.
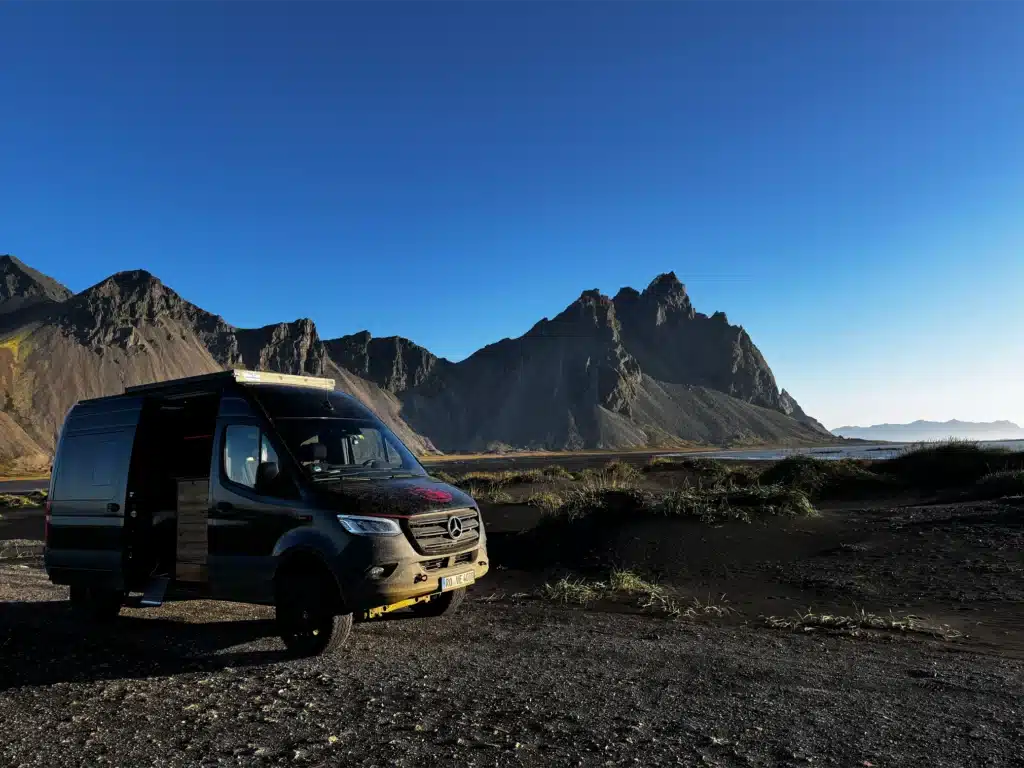
Parking space
To survive the winter unharmed, it is important to find a suitable place where your camper can stand unbothered for several months. Several options come into consideration here.
You can park it in an unheated barn, garage, or hall. Dry would naturally be the ideal solution, but outdoor parking spaces are also suitable, of course. However, avoid meadows because of the moisture. It's best to ask your city administration or municipality if areas are rented out for this purpose. You can find various offers on different online portals via a Google search.

Safety first
Depending on where you park, you should always take measures to secure and protect your camper. If possible, choose a safe place that denies access to unauthorized third parties.
In our opinion, the best anti-theft protection—of course, also during your travels—is the GPS tracker in the vehicle. Additionally, steering wheel or door locks offer protection. We recommend consulting with experts for this.
To protect the exterior of your camper from the elements, we recommend covering the vehicle with a special tarpaulin if you are overwintering it outdoors or storing it in a particularly cool, drafty location. This is not absolutely necessary indoors but naturally helps against dust etc.
3. Water
Zur For the avoidance of frost damage and for hygienic reasons, you should absolutely empty both the fresh water tank and the waste water tank, and also the urine tank if present (including the boiler/frost monitor). Leave the tank valves open so that the tanks and pipes can dry completely.
In the spring, before recommissioning, it is also recommended to clean all tanks again.
4. Auxiliary heater
The auxiliary heater should be switched on occasionally when not in use so that the fuel in the supply lines does not clump.
5. Electricity
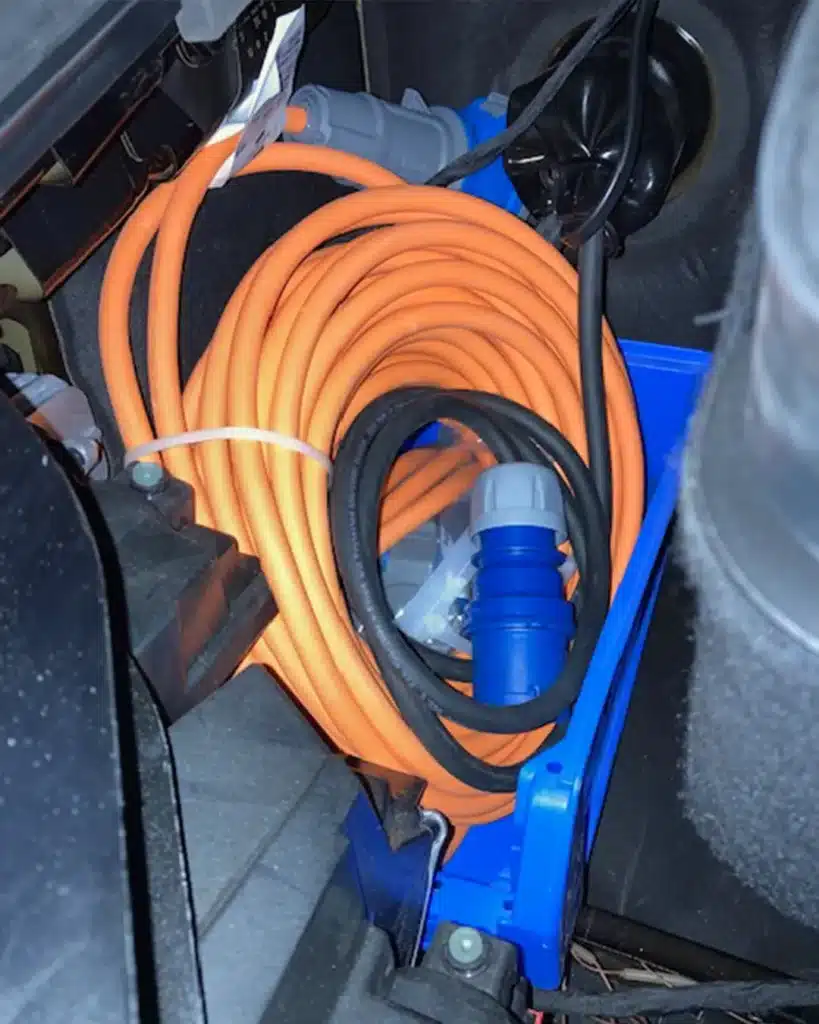
Even if all current collectors are switched off, the control unit requires minimal standby current. If the vehicle has a solar module and is parked outdoors, it will be sufficiently supplied here.
Of course, the panel must be free of a cover or snow for this. Otherwise, it should be connected to shore power from time to time or driven. This also applies, of course, if the vehicle is parked under a roof.
The battery does not need to be fully charged. A charge capacity between 20 and 80 % is perfectly sufficient. Please note: A drastic discharge of the battery can have consequences for the charging capacity and lifespan.
5. Hygiene
Interior spaces and toilet.
- Interior & Hygiene:
- Cleaning Clean the camper thoroughly, including the refrigerator.
- Food Remove all food that could freeze or spoil.
- Refrigerator Defrost and leave the door slightly ajar (risk of mold).
- Upholstery/Mattresses Store upright to ensure air circulation.
- Moisture Place dehumidifiers (e.g., salt-based) indoors.
- Outdoor Area & Tires:
- Tire pressure Increase to approx. 4.0 to 4.5 bar (or approx. 0.5 bar more than recommended) to prevent flat spots.
- Exterior cleaning: Wash the car.
- Ventilation Open roof hatches slightly to prevent condensation, but ensure no snow/rain gets in.
- It is recommended to ventilate the interior every 4-6 weeks in dry weather. A detailed checklist will help ensure all steps are considered.
- Windshield wipers Fold up if the vehicle is outside.
- Gas Screw on the caps, preferably remove them.
- Interior & Hygiene:
- Outdoor Area & Tires:
- Move to prevent pressure sores
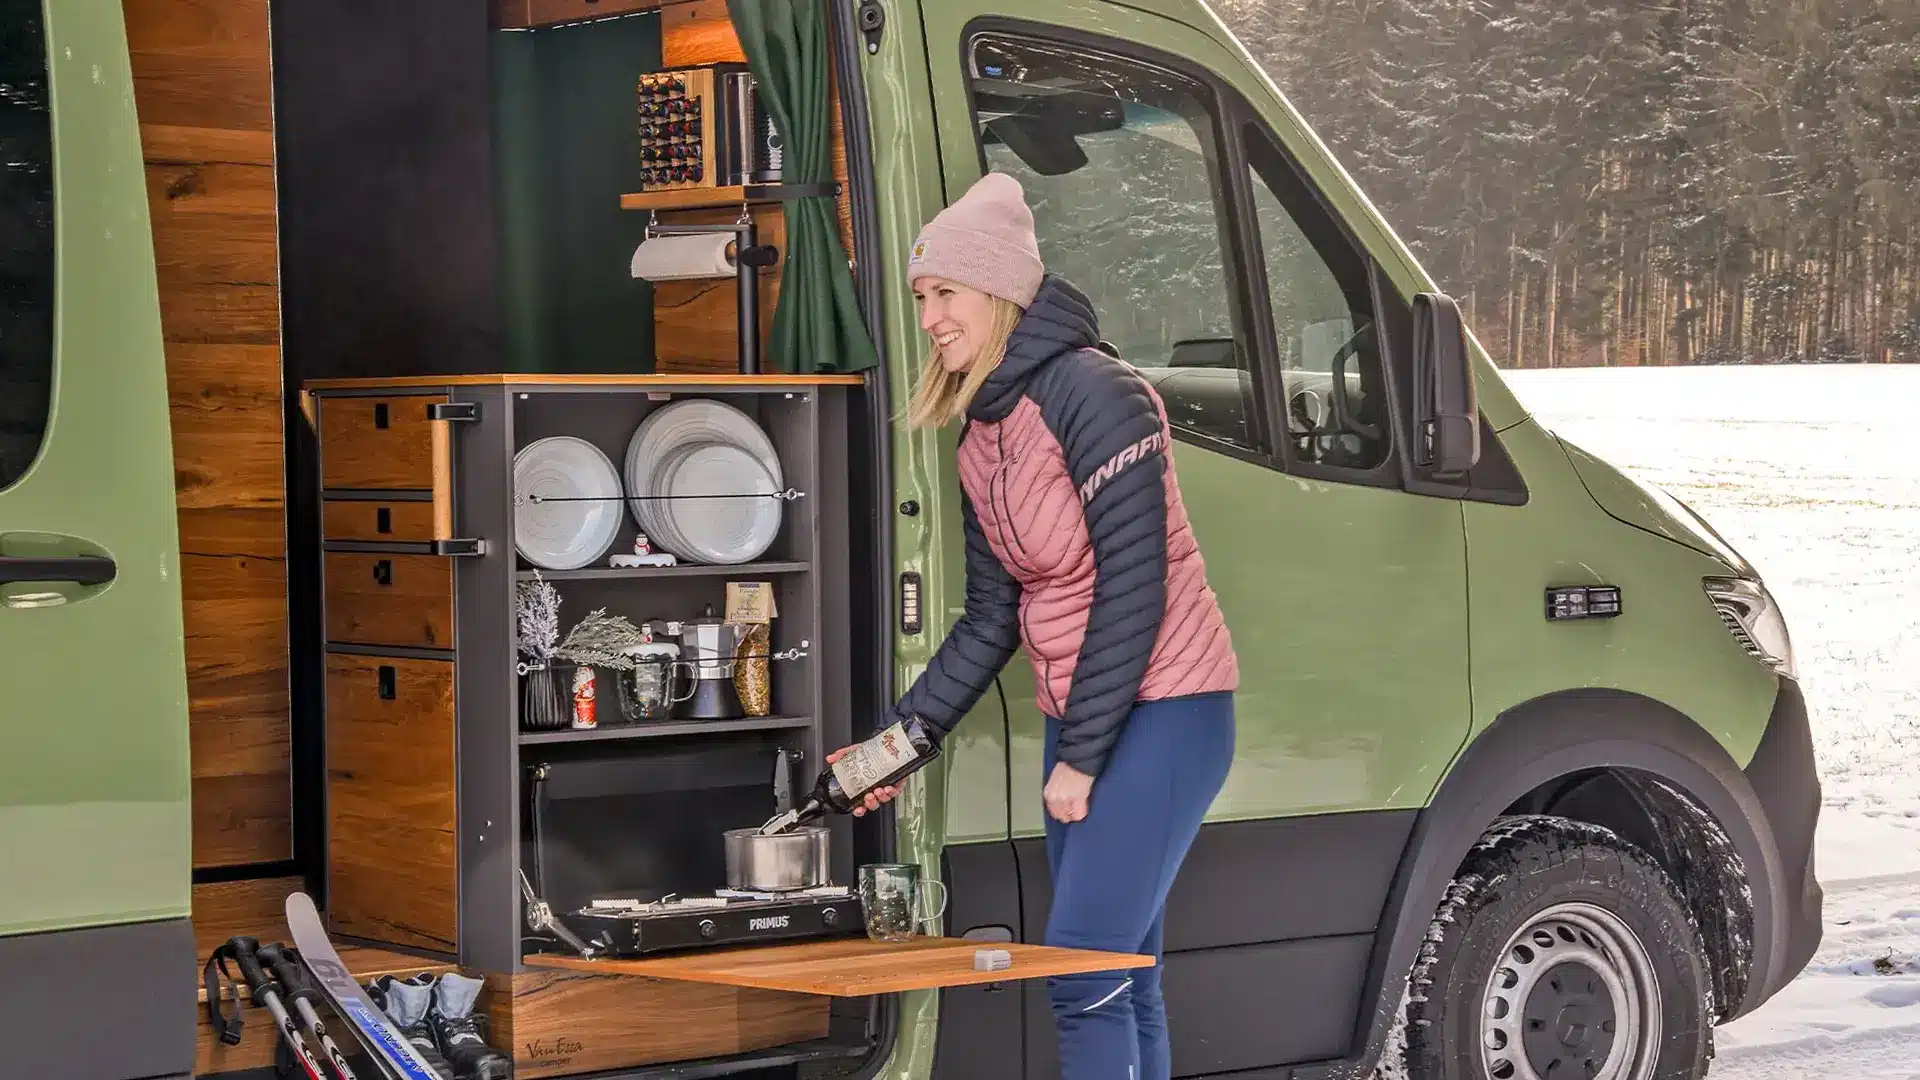
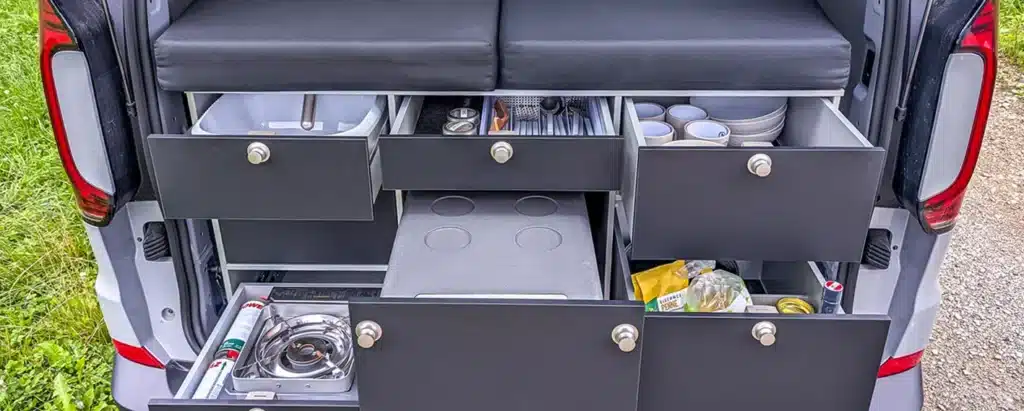
The Camping toilet can be placed in one of the lower compartments of the trolley. Cleaned and dry, of course.
Once you have placed the kitchen module on the trolley, I also recommend wiping everything down with a damp cloth and a neutral cleaning agent. Then dry the surfaces with a soft cotton cloth. Incidentally, you can easily remove the drawers from the kitchen. To do this, press the two orange clips under the drawer and lift it upwards. Then place it back on the rails and close the drawer.
The Cooler box should be thoroughly disinfected once with a suitable cleaner (e.g. vinegar cleaner). After cleaning, allow the cool box to air out well, otherwise unpleasant odors may arise. For winter storage, I recommend placing a small bowl of baking soda in the closed cool box, as this will trap any odors. Stow away all Cables so that they cannot be eaten by small rodents.
If you still have an unfinished Gas cylinder on the stove, then take them off and close them accordingly.
Once everything has been cleaned and dried, it is best to cover the entire trolley or furniture with a film. This protects them from dirt and moisture. I would generally store them in a closed room (garage or cellar, not a carport).
3. winterizing the Sleeping pad
You can remove the mattress cover at any time using the zippers and wash it on a 40° gentle cycle. I would definitely do this before the next camping season. Whether you do it before stowing it away or before your next camping vacation is up to you. It is also important that the mattress is completely dry. If you still have the foil from buying the mattress, you can store it in it. Otherwise, I would also pack it in an airtight sheet so that no animals can make themselves comfortable in it over the winter. When covering the mattress, make sure that the parts of the mattress are the right way up in the cover.
Another tip on the side: The VanEssa mattress is also very suitable as a guest mattress and can also be easily stored in a cupboard at home.
4. winterizing the lithium battery
For most people, the ideal place to store a dormant lithium battery is at home. Dry room air and room temperature ensure the best storage climate, which promotes a long service life. Also remember to charge the battery with at least 40%. A drastic discharge of the battery can have consequences for the charging capacity and service life. With these tips, you should be able to enjoy your equipment for a long time and start the new camping season well prepared again in the new year.
This is also recommended to prevent tire damage from standing still.
All my love, Bea
Please be sure to refer to your camper's user manual. You'll find detailed information there again, especially relevant to your specific vehicle.
Tips & Tricks
for your camper


Inspirations
from our travel blog